Branding your value is, probably, the most important thing to your business.
 to this:
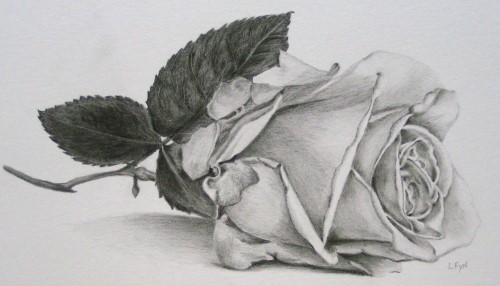
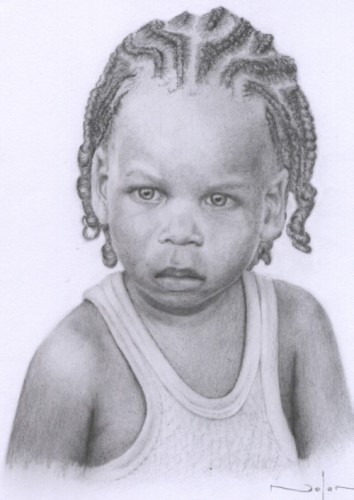
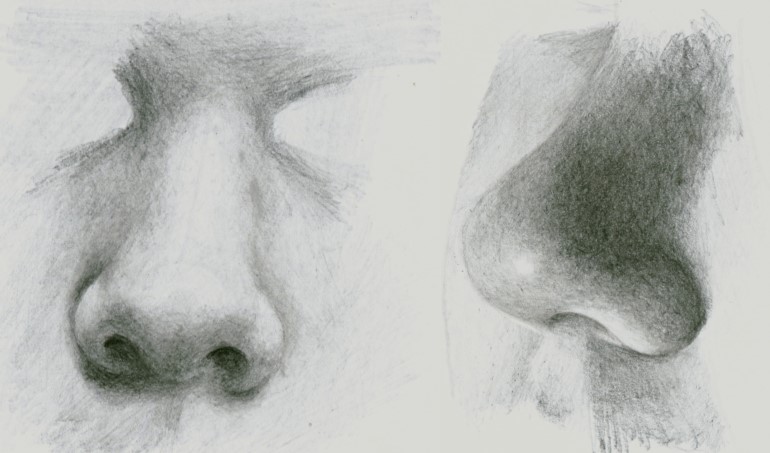
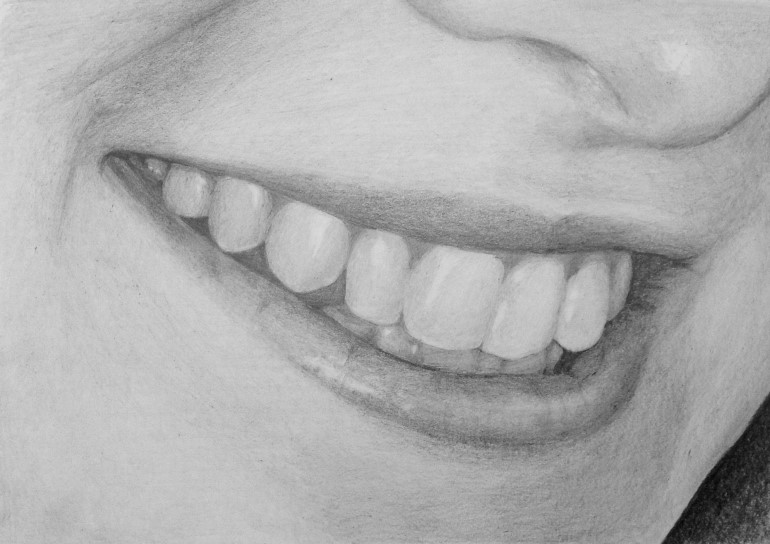
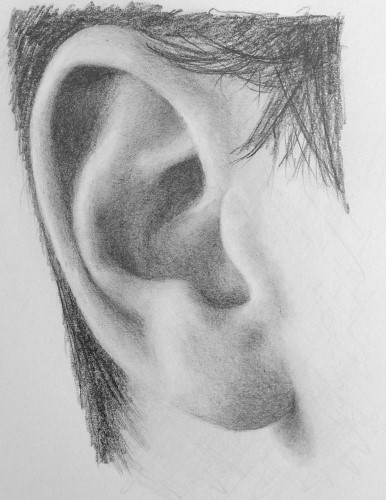
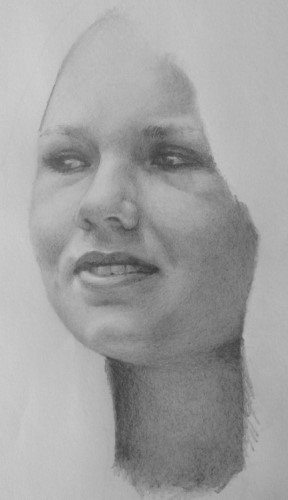
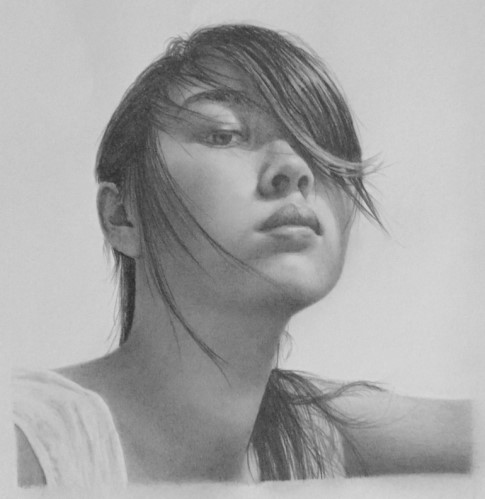
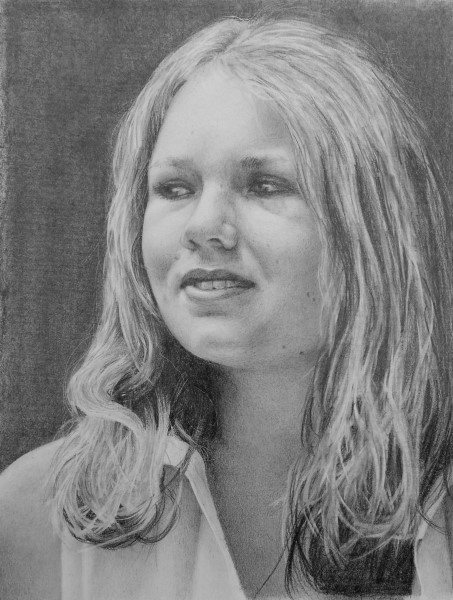
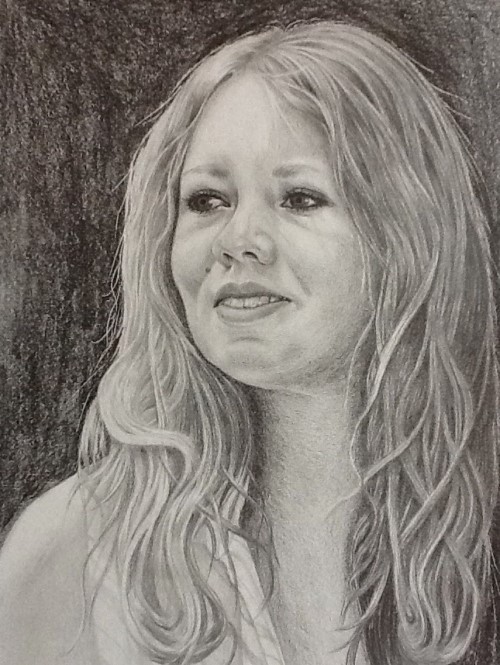
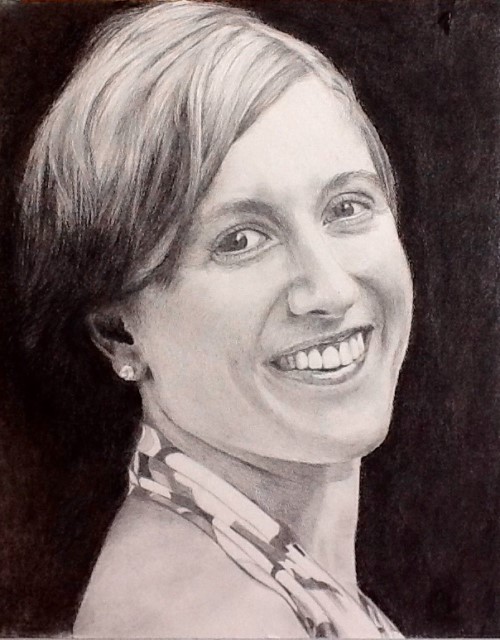
 now, with a bit more practice under the belt, my drawings look like this:

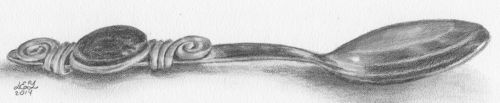
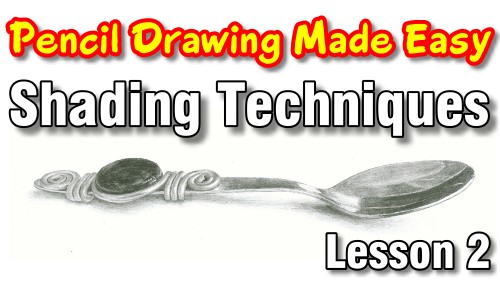
Thank you for the great class. I really enjoyed shading a spoon, just one thing was distracting. These swirls on the spoon reminded me of cinnamon buns so now I am hungry, lol.
- Lidiya -
I am one of the people attending your classes. I learned a lot and improved my drawing skills 1000%. You are a great teacher.
- Doina -
We have such fun which makes it easier to learn,.....and, believe me......we sure have learned!! You are such a wonderful teacher, you explain so much. It's a blast here!
- Bella -
I'm delighted with my own progress toward being a portrait artist and with your teaching and lot's and lot's of practice, perhaps I can get to be close to your level of expertise!
- Bev -

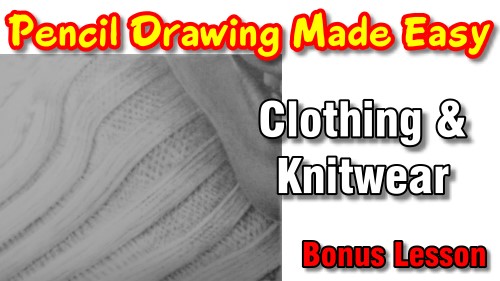 This is a two in one lesson. In the first part you will learn how to draw clothing, drapery and any other material texture, including fluffy jackets. You will learn how to create the folds and show depth in the fabric. The second part of the lesson shows you how to create knitted textures typically found in jerseys and cardigans easily, yet still 100% realistic.
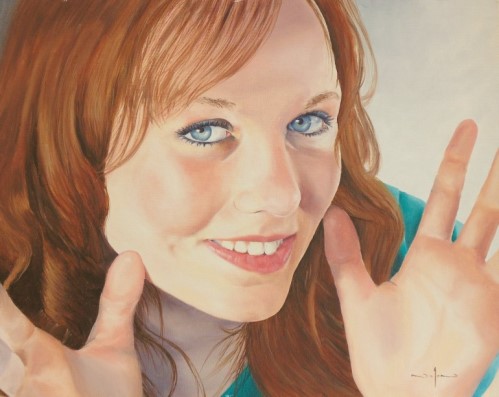
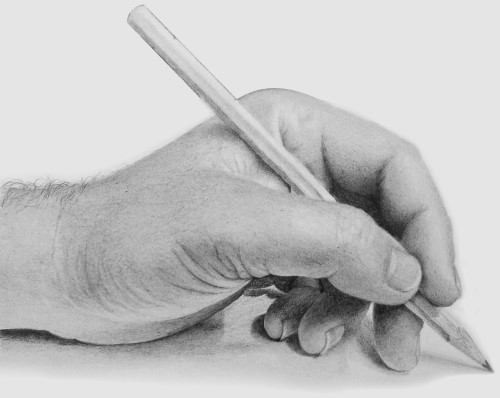
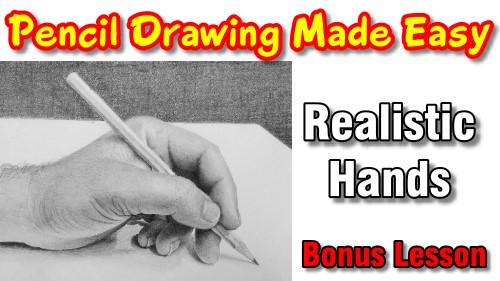 Artists usually avoid drawing hands like the plague because they are so difficult to draw. In this module you will learn my secrets on how to draw ANY hand so that it looks like a photograph. After this class you will be able to draw your own hand, and you will actually recognise it!!!
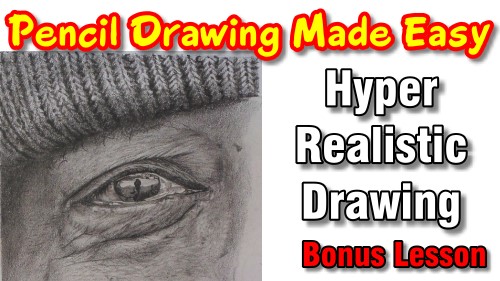 This module is a real bumper lesson. In the class I answer and help with the most common problems encountered by the students of the course, so the lesson is not only practical, but relevant to the work you have been doing. I show you how to fix the common problems ON the actual student's drawings so you can see how it is done. Then I also do a demonstration showing the closely guarded secrets, used by the master artists you see on the internet, to draw hyper realistic portraits. This info has never been shared before.
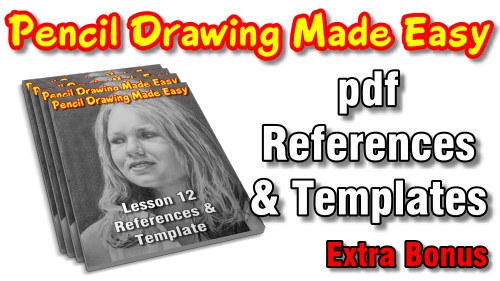 As an added bonus I will add downloadable pdf templates onto each lesson, including the bonus lessons. You can then use these templates to transfer the drawing outlines accurately to your drawing paper without having to struggle with grids or proportional dividers. I will also add a high quality exact size reference photo of the subject we are drawing to each module as well as a photo of the final drawing. That way you can reference my final drawing and the photo at exactly the same size as your drawing while you are working. As the photos are high quality you will also be able to zoom in on them to see the finer detail directly off your computer screen.
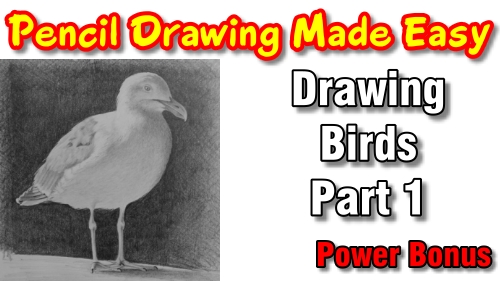 In part 1 of the drawing birds class you will learn the basic techniques used to draw the feathers. During this class you will draw a beautiful seagull which will set you on a solid foundation for the rest of the course.
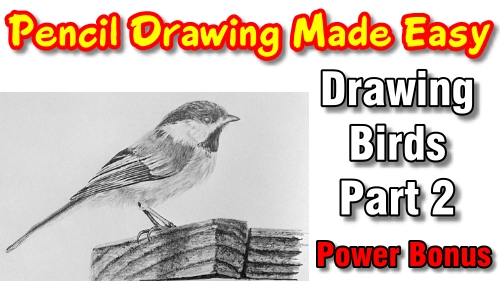 In part 2 of the drawing birds course you take your basic knowledge of drawing feathers and build on it. You will learn how to draw feathers in fine detail as well as how to draw complex feather patterns.
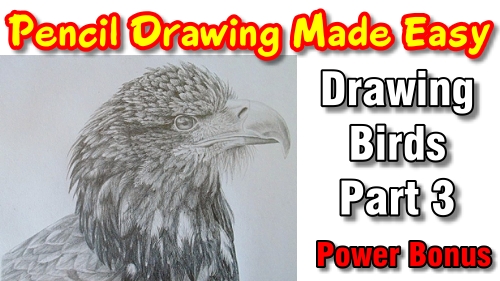 Next we move on to the most majestic of all the birds - an Eagle. As we want to be able to draw the bird in as much detail as possible, this is a two part class. In this class we draw the upper part of the bird. You will learn how to draw the eye, beak as well as the crown realistically.
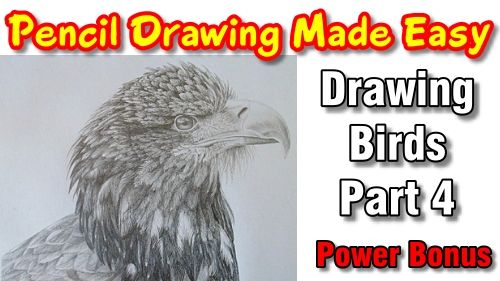 We complete the course on drawing realistic birds by drawing the rest of the Eagle. In this class you will learn how to show the larger head feathers in brilliant detail without having to spend hours drawing every hair on every feather. You will then also learn how to draw the flat feathers on the body.